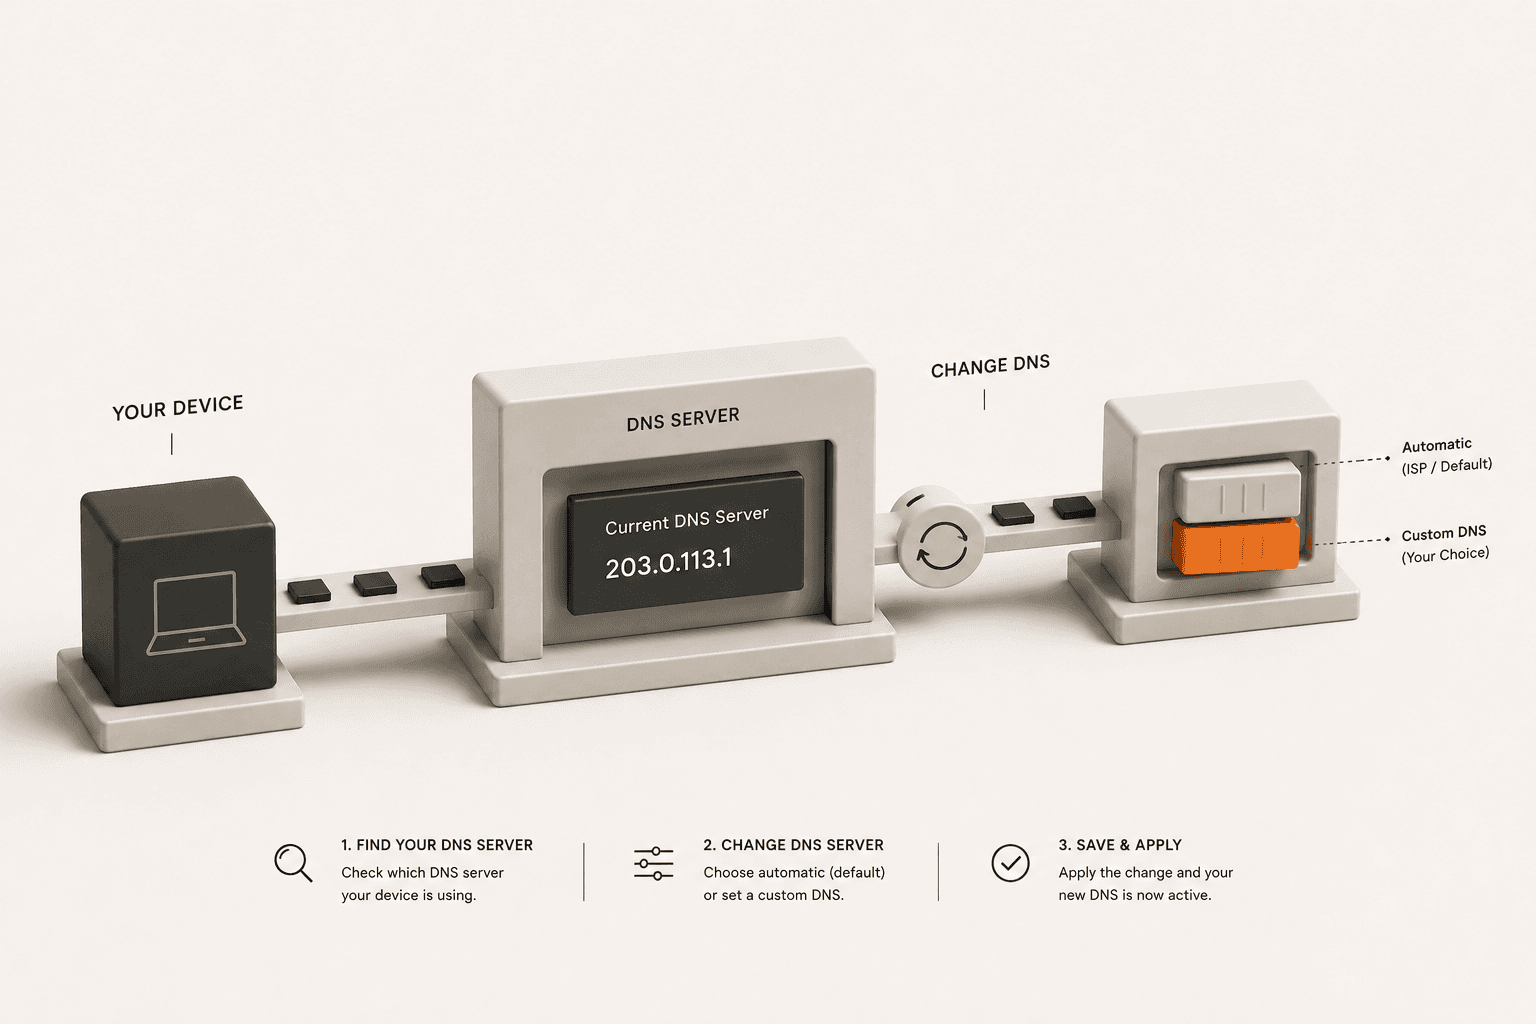
Every time you visit a website, your computer has to translate the human-readable domain name (like google.com) into a machine-readable IP address (like 142.250.190.46). This translation process is handled by a DNS (Domain Name System) server. It acts as the phonebook of the internet.
How Can You Find Out Which DNS Server You Are Using?
By default, your router automatically assigns a DNS server provided by your Internet Service Provider (ISP). This means your ISP processes every single website request you make.
You can see exactly which companies are resolving your requests right now by running a test with our DNS Leak Test tool. The tool will force your browser to look up several unique addresses and report back the IP addresses of the servers that handled the requests. If you see the name of your ISP (like Comcast or AT&T) in the results, you are using their default servers.
Why Should You Change Your DNS Server?
Relying on your ISP for DNS resolution is often a bad idea for three main reasons:
- Privacy: In many countries, ISPs are legally allowed to log your DNS requests and sell your browsing history to advertisers. Even if you use HTTPS, the DNS request itself is often unencrypted, revealing which sites you visit.
- Speed: ISP servers are frequently overloaded and slow to update. Switching to an enterprise-grade DNS provider can shave milliseconds off every website load, making your entire browsing experience feel much faster.
- Censorship and Security: ISPs sometimes block access to specific websites by removing them from their DNS records. Furthermore, default servers rarely offer protection against phishing or malware domains.
What Are the Best Alternative DNS Servers?
You can change your settings to use public, secure DNS resolvers. Some of the most popular and trusted options include:
- Cloudflare (1.1.1.1): Widely considered the fastest public DNS resolver. Cloudflare promises never to log your IP address or sell your data.
- Google (8.8.8.8): Highly reliable and fast, though some users prefer to avoid giving Google more data.
- NextDNS: Allows you to customize exactly what gets blocked at the DNS level, effectively acting as a network-wide ad blocker and security filter.
How Do You Change Your Settings on Windows?
Changing your DNS on a Windows machine only takes a minute:
- Open the Start menu and type "Control Panel".
- Go to Network and Internet, then Network and Sharing Center.
- Click on your active connection (e.g., Wi-Fi or Ethernet) on the right side.
- Click the Properties button.
- Select Internet Protocol Version 4 (TCP/IPv4) and click Properties again.
- Choose "Use the following DNS server addresses" and enter your preferred IPs (like 1.1.1.1 and 1.0.0.1 for Cloudflare).
- Click OK to save.
How Do You Change Your Settings on Mac?
To change your settings on macOS:
- Open System Settings (or System Preferences).
- Click on Network and select your active connection (Wi-Fi or Ethernet).
- Click the Details or Advanced button.
- Navigate to the DNS tab.
- Click the "+" button at the bottom of the list and type in the new DNS IP address (like 1.1.1.1).
- Click OK and Apply.
Once you have made the change, run the DNS Leak Test again to confirm your new servers are active and your ISP is no longer handling your requests.