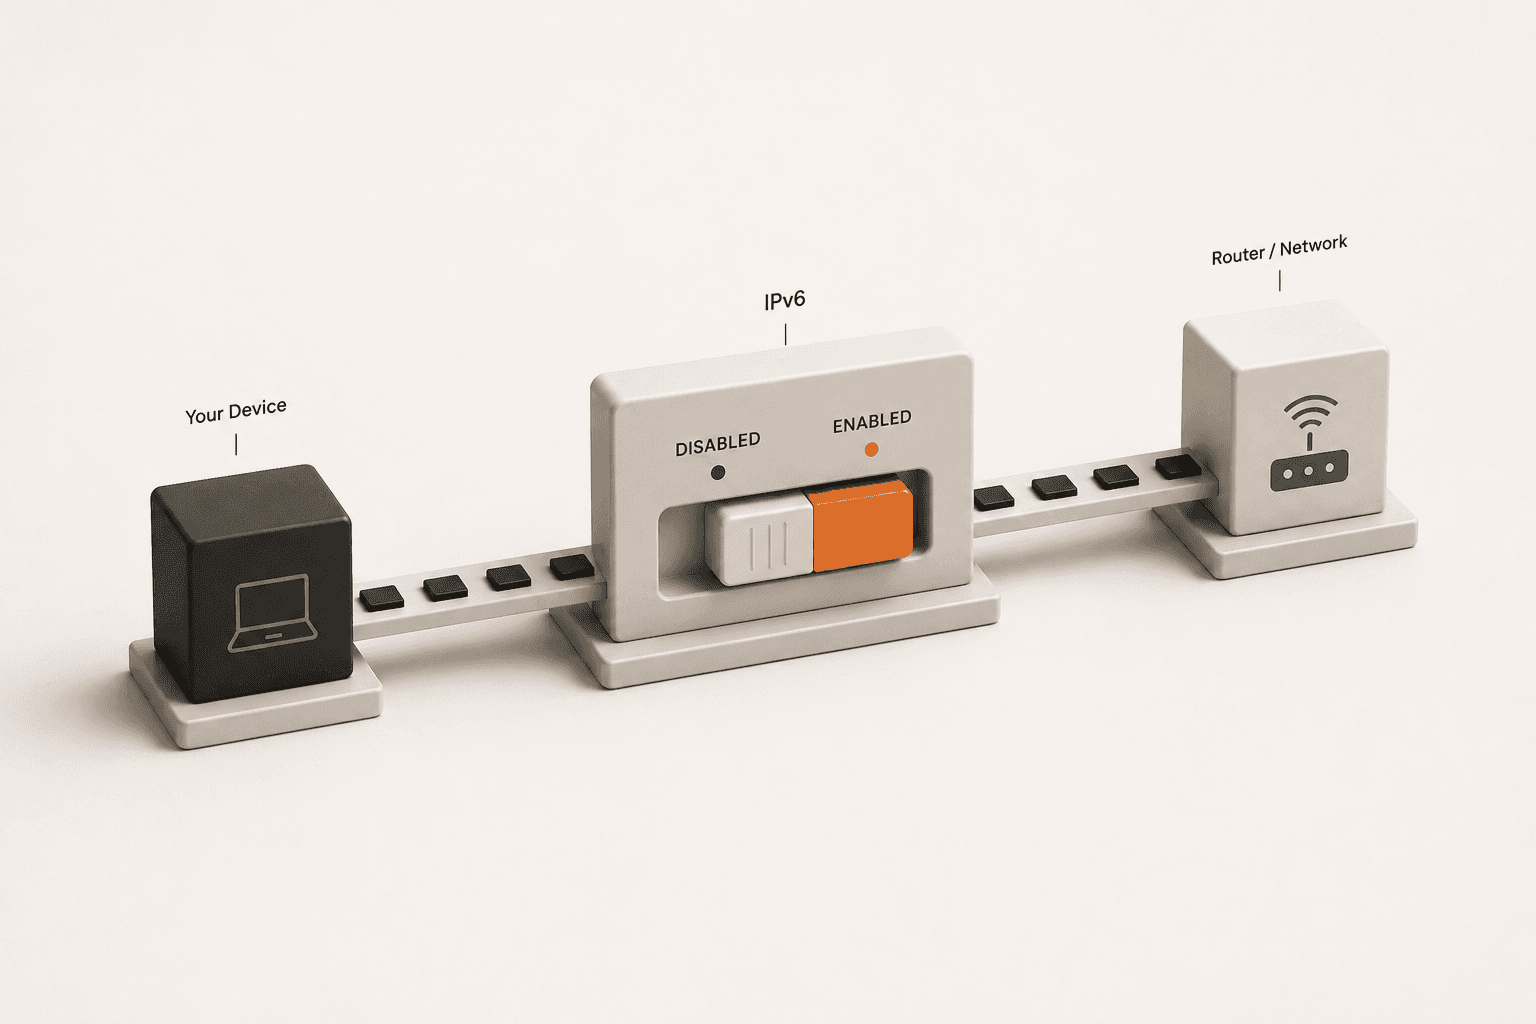
Most devices handle IPv6 automatically and you never need to touch the setting. But if you are troubleshooting a VPN leak, a flaky home network, or a specific app that refuses to connect, toggling IPv6 on or off can fix the problem in minutes. Here is exactly how to do it on Windows, macOS, and most home routers - and how to confirm the change actually worked.
Before You Change Anything: Check Your Current Status
Don't guess whether you have IPv6 active. Open our What Is My IP tool first. If an IPv6 address is listed, your connection has it enabled right now. If it says “Not Detected,” either your ISP doesn't offer it yet or it's already off at the device or router level. Keep this tab open so you can re-check after each step below.
How to Disable IPv6 on Windows
- Open Control Panel and go to Network and Sharing Center.
- Click Change adapter settings in the left sidebar.
- Right-click your active connection (Wi-Fi or Ethernet) and choose Properties.
- Uncheck the box next to Internet Protocol Version 6 (TCP/IPv6).
- Click OK and restart your browser.
To re-enable it later, just check the same box again.
How to Disable IPv6 on macOS
- Open System Settings and go to Network.
- Select your active connection and click Details (or the info icon).
- Go to the TCP/IP tab.
- Change the Configure IPv6 dropdown from “Automatic” to Link-local only.
- Click OK, then Apply.
Switch it back to “Automatic” to restore normal IPv6 connectivity.
How to Disable IPv6 on Your Router
Turning it off at the router disables it for every device on your network at once, which is useful if you manage a home network for family members who won't remember to change their own settings.
- Log into your router's admin panel (commonly
192.168.1.1or192.168.0.1in your browser). - Look for a section called WAN Setup, Advanced, or IPv6 - the exact label varies by brand.
- Set the IPv6 connection type to Disabled or toggle it off.
- Save and reboot the router.
Router menus vary widely, so if you can't find the setting, search your router model plus “disable IPv6” for exact menu steps.
Why You Might Want to Disable It
- VPN leak protection: Some older or budget VPN apps only encrypt IPv4 traffic. If your network has IPv6 active and your VPN ignores it, your real IP can leak out over the unencrypted IPv6 route. Disabling IPv6 closes that gap instantly.
- Troubleshooting connectivity: A small number of routers and ISPs have buggy IPv6 implementations that cause slow page loads or intermittent drops. Disabling it is a quick way to test if IPv6 is the culprit.
Why You Might Want to Leave It Enabled
- Modern VPNs handle it fine: Reputable VPN providers today either fully tunnel IPv6 or block it at the adapter level, so there's no leak risk to fix.
- Some services perform better on it: IPv6 skips NAT translation entirely, which can mean slightly lower latency on networks that support it end-to-end.
- It's where the internet is heading: IPv4 addresses are exhausted, and disabling IPv6 long-term just delays an eventual dependency rather than avoiding it.
Confirm the Change Worked
After making any of the changes above, refresh our What Is My IP tool. If you disabled IPv6, the field should now show “Not Detected.” If you were troubleshooting a VPN leak specifically, connect your VPN and run the VPN Check tool to confirm your IPv4 address changed to the VPN provider's address with no IPv6 leak alongside it.
For a deeper explanation of what IPv6 actually is and why it exists in the first place, see our guide: What Is IPv6? Simple Explanation (+ Do You Need It?)