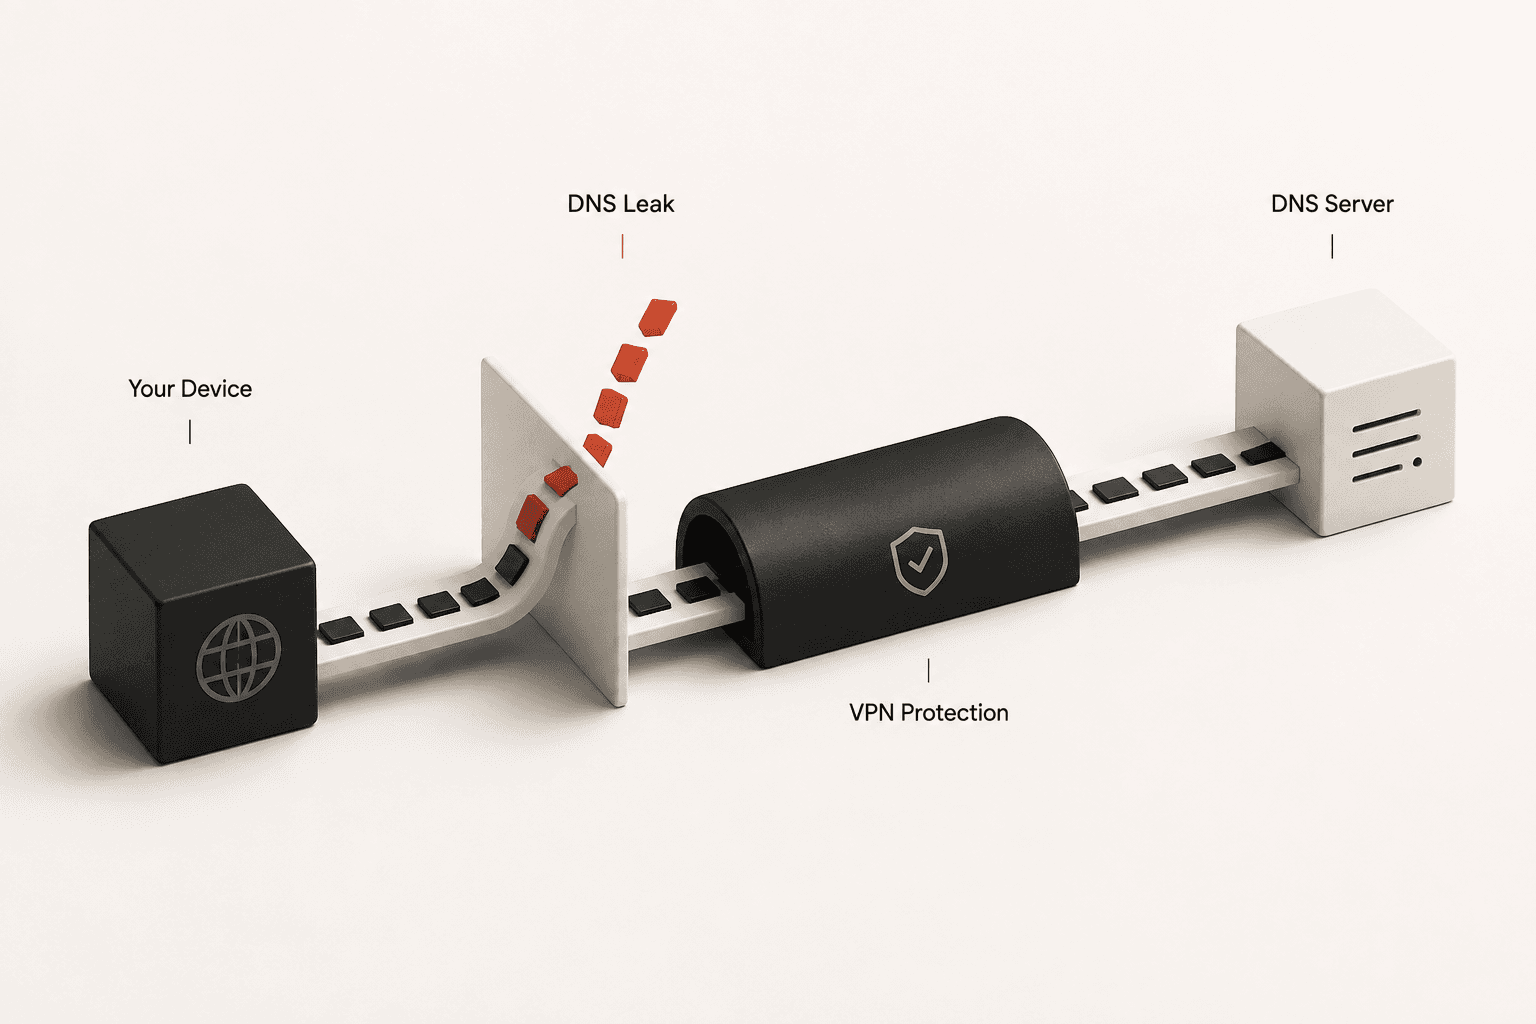
To fix a DNS leak, you must force all your device's DNS requests through your VPN's encrypted tunnel. The exact fix depends on the cause: you will usually need to enable DNS leak protection in your VPN app, disable IPv6 on your network adapter, or configure a forced DNS redirection rule on your router. We will walk through how to check and apply each of these fixes in order of likelihood.
Confirm You Actually Have a DNS Leak First
A DNS leak test is informational, not strictly pass or fail. It simply forces your browser to resolve a series of unique domain names and records which DNS resolvers asked for directions.
Before changing your network settings, you need to verify your baseline. Run our DNS Leak Test while connected to your VPN. Look closely at the "ISP" column in the test results. If you see the name of your home internet service provider (like Comcast, Spectrum, AT&T, or Virgin Media), you have a confirmed leak.
This means your operating system is bypassing the VPN tunnel for DNS queries. Your web traffic might be encrypted, but your ISP can still see every website domain you attempt to visit. If you only see servers owned by your VPN provider or a trusted third-party resolver (like Cloudflare or Google), your tunnel is secure and you do not need to apply these fixes.
Fix 1: Force Your VPN App to Handle All DNS Requests
The most common reason you need a DNS leak fix is a VPN application failing to aggressively route DNS requests through its own encrypted tunnel. When this routing fails, operating systems like Windows and macOS automatically fall back to the default DNS servers provided by your local home router via DHCP. Because your router is connected to your ISP, those default servers are almost always owned and monitored by your ISP.
To fix this, open your VPN application's settings menu and navigate to the network, connection, or security tab. You are looking for a specific toggle usually labeled "DNS Leak Protection," "Force DNS," "Secure DNS," or "Prevent DNS Leaks." Ensure this toggle is enabled. This setting instructs the VPN client to actively intercept local DNS requests and route them through the encrypted tunnel to the VPN's own resolvers.
Additionally, if your VPN application includes a "Kill Switch" feature, you must turn it on. A kill switch instantly cuts your internet access if the VPN connection drops even for a millisecond. Without a kill switch, your operating system will silently reconnect using your standard, unencrypted network interface during brief drops, instantly exposing your DNS requests to your ISP before the VPN has time to re-establish the secure tunnel.
Fix 2: Check for an IPv6 DNS Leak
Many popular VPN services still only tunnel IPv4 traffic, leaving IPv6 traffic completely unencrypted. If your home internet connection supports the newer IPv6 standard, your operating system may send IPv6 DNS requests completely outside the VPN tunnel, exposing your browsing history directly to your ISP.
If your VPN provider does not fully support IPv6 routing, the most reliable DNS leak fix is to disable IPv6 entirely on your device's network adapter.
On Windows, press the Windows key, type "View network connections," and hit Enter. Right-click your active Wi-Fi or Ethernet adapter and select Properties. Scroll down the list of items, uncheck the box next to "Internet Protocol Version 6 (TCP/IPv6)," and click OK.
On macOS, open System Settings, navigate to Network, and click on your active Wi-Fi or Ethernet connection. Click Details, go to the TCP/IP tab, and change the "Configure IPv6" dropdown menu to "Link-local only."
By disabling IPv6, you force your machine to exclusively use the IPv4 tunnel that your VPN is actually protecting, immediately stopping IPv6-based DNS leaks.
Fix 3: Manually Set a Trusted DNS Server
If your VPN app is unreliable at overriding your system's DNS settings, you can manually set a trusted, privacy-focused DNS provider as a fallback. This guarantees that even if a request leaks outside the VPN tunnel, it goes to a secure resolver rather than your local ISP.
Why does this work? When your device attempts to resolve a website like aivorizetools.com, it checks its configured DNS servers. If the VPN tunnel drops the request, the operating system looks at the hardcoded network adapter settings. If those point to Comcast or AT&T, your ISP logs the request. If those point to a privacy-respecting service like Quad9, the request is resolved securely without your ISP ever knowing which domain you asked for.
To do this, you need to change your operating system's default DNS servers to a trusted provider like Cloudflare (1.1.1.1), Quad9 (9.9.9.9), or Mullvad DNS.
On Windows, return to your network adapter Properties (where you disabled IPv6). Select "Internet Protocol Version 4 (TCP/IPv4)" and click Properties. Choose "Use the following DNS server addresses" and enter your preferred provider (for example, 1.1.1.1 and 1.0.0.1 for Cloudflare).
On macOS, go to your Network settings, select your connection, click Details, and navigate to the DNS tab. Click the "+" button to add your trusted DNS server addresses, then click OK to save.
Fix 4: Check Your Router's DNS Settings Directly
For users running their own router-level DNS setups — such as a Pi-hole, pfSense, or OPNsense firewall — a leak showing the ISP's DNS often means the router itself isn't forcing all DNS traffic through the intended resolver. Some smart home devices and applications ignore DHCP-assigned DNS servers and use hardcoded fallbacks (like Google's 8.8.8.8) instead.
To fix a DNS leak at the network level, you must configure a NAT port forwarding rule on your router. This is sometimes called "Forced DNS Redirection" or "DNS Hijacking Prevention."
This rule intercepts any outbound DNS request on port 53 (and port 853 for DNS-over-TLS) that is not originating directly from your Pi-hole or firewall. Instead of letting the request pass through to the hardcoded external server, the router silently redirects it back to your local, trusted resolver. If you are using pfSense, this involves creating a Port Forward rule on the LAN interface for Destination Port 53, redirecting to your firewall's local IP address. This ensures no device on your network can bypass your DNS privacy setup.
Test Again to Confirm the Fix Worked
Do not assume a changed setting has secured your connection. Operating systems aggressively cache network configurations, meaning a leak can persist even after you apply the correct fix.
After attempting any of the steps above, completely disconnect your VPN and reconnect it to flush your active connection states. Then, return to the DNS Leak Test and run a fresh scan. You should no longer see your ISP's name anywhere in the results. If the leak persists, move on to the next fix in the sequence until the results show only your VPN's secure resolvers.